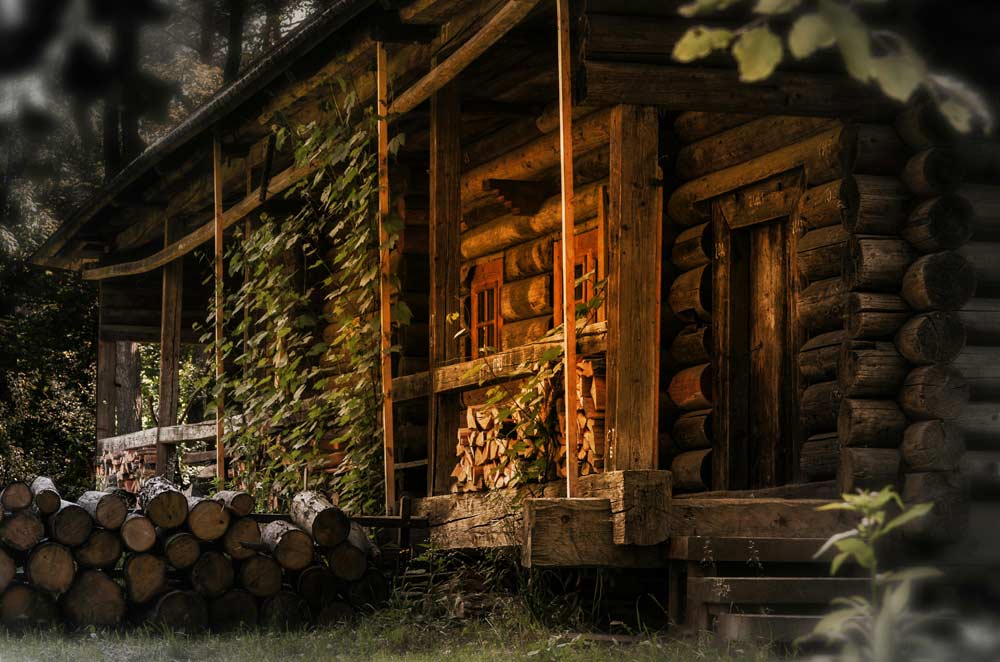
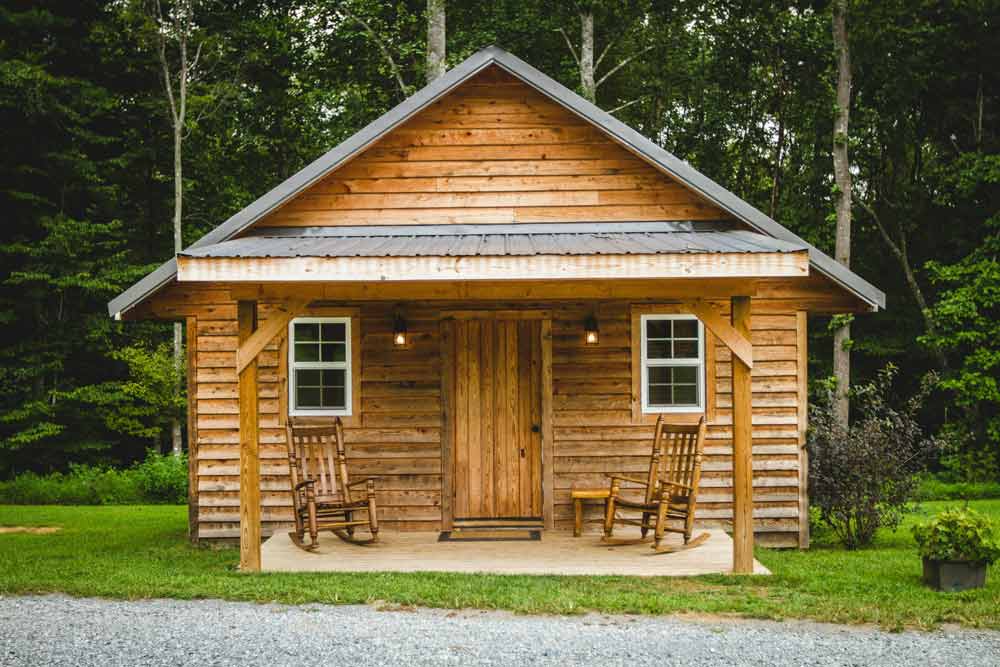
Here is our handy guide to help you build your Logspan Log Cabin. As can be seen, it is not difficult and if you have the right tools and some friends/family to help this can be a great project that should not take to long and give you a fantastic sense of achievement.
These instructions should be used in conjunction with the Build Plan provided in your Log Cabin kit.
Please read these instructions carefully before attempting to build up your Log Cabin.
PRE-BUILD
STORAGE
If you are unable to start building immediately after delivery it is important to stack the material horizontally and cover it to protect it from the weather. Indoors is ideal.
TIMBER
Wood is a natural product and it will vary with climate changes. However, with proper care, you will be able to enjoy your log cabin for many years. During very hot dry weather small cracks may appear in the wood. These will disappear when the weather changes. Small cracks in no way affect the integrity of the cabin!
TOOLS LIST
Essential Items
- Cordless Power Drill with TORX bits – Size TX20 & TX25 (sometimes called T20 or T25)
- Jigsaw – You will likely need to rip the last floorboard & roof board down
- Rubber Mallet – white rubber headed mallet (black rubber mallets will mark the timber)
- 19mm Clot Nails
- Stanley knife hook blade
- Stanley knife standard blade
Non-essential Items
- Air compressed brad gun – Useful and very quick for putting the floor down Ladder & Step Ladder
This list does not include the standard tools required for any joinery tasks.
BASE
It is very important the base is firm and level. Although the base may appear level, it is vital that attention is taken to ensure that the base is level. If it is not, problems will occur. The walls may come together okay but the roof boards will not line up and it will cause big problems. Most problems can be avoided by checking and rechecking that the base is level. We recommend the cabin be built on a solid concrete base but other forms of base such as wooden decking, or concrete slabs can also be used.
DO NOT START BUILDING YOUR CABIN IF YOUR BASE IS NOT LEVEL
There are a number of options of base for putting your building on. When building a base for a log cabin, it is best that the base be the exact size of the base frame of the cabin. This allows water to run off the roof and drain away rather than water sitting against the base frame or bouncing up against the walls of the cabin. However, this is not essential as long as there is good drainage.
Below are a number of guides for different types of bases.


UNPACKING & ORGANISATION
When opening up the pack of timber, it is important that care is taken in order not to lose any pieces. Most pieces are for use while others may just be for packing. Remove all the small items first and store somewhere dry. Next, take the doors and windows off. They are heavy.
To save a lot of time later, we suggest you take a little time now to lay out the wood in groups according to size. If you do this it is an easy matter to find the right pieces. Please note: some groups may differ in size by as little as 10mm.
As you unpack, you will notice there are a number of treated (green) timbers in the pack. Set them aside, you will need them first.
When taking the large plastic sheeting off, don’t throw it out as it could be useful for covering parts from the weather should you have to carry your project over to another day.
BUILD
| (1)
First, the base frame should be screwed together. For the walls, place the first logs on top of the base frame, starting with the half logs, one for the back wall and one for the front wall of the cabin. These two logs should be secured to the base frame with a screw at each end. Make sure that the two logs adjacent to these logs fit correctly and square before securing to the base. See (Fig: 1) |
Fig: 1 |
Fig: 2 |
(2)
The building should be checked if it is square after reaching 3 or 4 wall sections high. To check use a measuring tape and measure the distance from diagonal corners. Knock the logs tightly together. See (Fig: 2). |
| (3) FITTING THE DOOR(S)
After you have laid the third row of logs you should start installing the door. The higher you build the walls it becomes more difficult the put the door in place. Take the door and frame, place it over the logs and slide it down pushing it tightly into place against the log. Next, attach the door handles so you can open the door! Keep building up the wall until you have reached the height of the window. See (Fig: 3). |
Fig: 3 |
Fig: 4 |
(4) FITTING THE WINDOW(S)
After you have laid the seventh or eighth long log (check your Build Plan) and two of the shorter logs, you should fit the window. Slide the window into place, making sure it is tightly into place along its length onto the wall beam. Do not fix the door frame to the logs before the cabin is complete. It is enough to fix the bottom rail of the door with one or two screws, to prevent movement during build. See (Fig 4). |
(5) FINISHING THE WALLS
Once the door(s) and window(s) are in place, build the walls up to the purlins as indicated in your build plan. Since the logs of the front and rear apex sections are not connected to the logs of the side walls, you should secure them by screwing this section to the lower logs at one end. Take care not to go too close to the edge which may split the logs.
(6) THE PURLINS
The purlins should be attached as illustrated in your build plan. Check to make sure the joints of the ridge, upper wall logs and purlins form a flat horizontal surface. Use a spirit level to check the sides, front and back walls are vertical. Screw each end of the purlin to the apex.
(7) INSTALLATION OF ROOF BOARDING
Start by assembling the roof boarding. Knock the separate boards lightly together. Fix roof board to each purling with 2 galvanized nails and finally nail the roof board to the wallboard. Fit the roof edge reinforcement pieces along the edge of the roof. When you get to the last boards on the end, you may need to rip down the length to finish flush with the end of the purlins.
(8) FLOORBOARDS
Place the floorboards on the bearers and secure with the nails provided. Knock the separate boards lightly together and fix to each floor bearer with galvanized nails. Do not push the floorboards length ways tight to the walls. There will be a gap to be left that will be covered by a 20 x 20 skirting board.